Image analysis of pathology samples requires two sets of skills: the image analysis (computational) skills and pathology skills. This is why to provide reliable results the pathologists and engineers need to work together on the development of the IA algorithms. Often they start working together without previous experience in each other’s fields. To optimize and streamline such collaborations both the engineers as well as the pathologists should have a certain degree of familiarity with the area of expertise of the other party. It is crucial to educate oneself quickly and reach a common level of understanding of the subject to be able to approach the digital pathology IA challenges most efficiently.
This post provides pathology background for image analysis engineers.
It presents the 10 best visual pathology resources available online which will help all image analysis engineers understand the tissue and depict the inter and intra-tissue dependencies in their algorithms better. It will also facilitate communication and work with the pathologist. Familiarity with the following areas will optimize the collaboration with the pathologist and provide a common ground for discussions and brainstorming:
- Pathology workflow
- Hematoxylin and eosin staining and general tissue understanding
- Immunohistochemistry (IHC) including IHC scoring guidelines
- Tumor Microenvironment
Pathology workflow
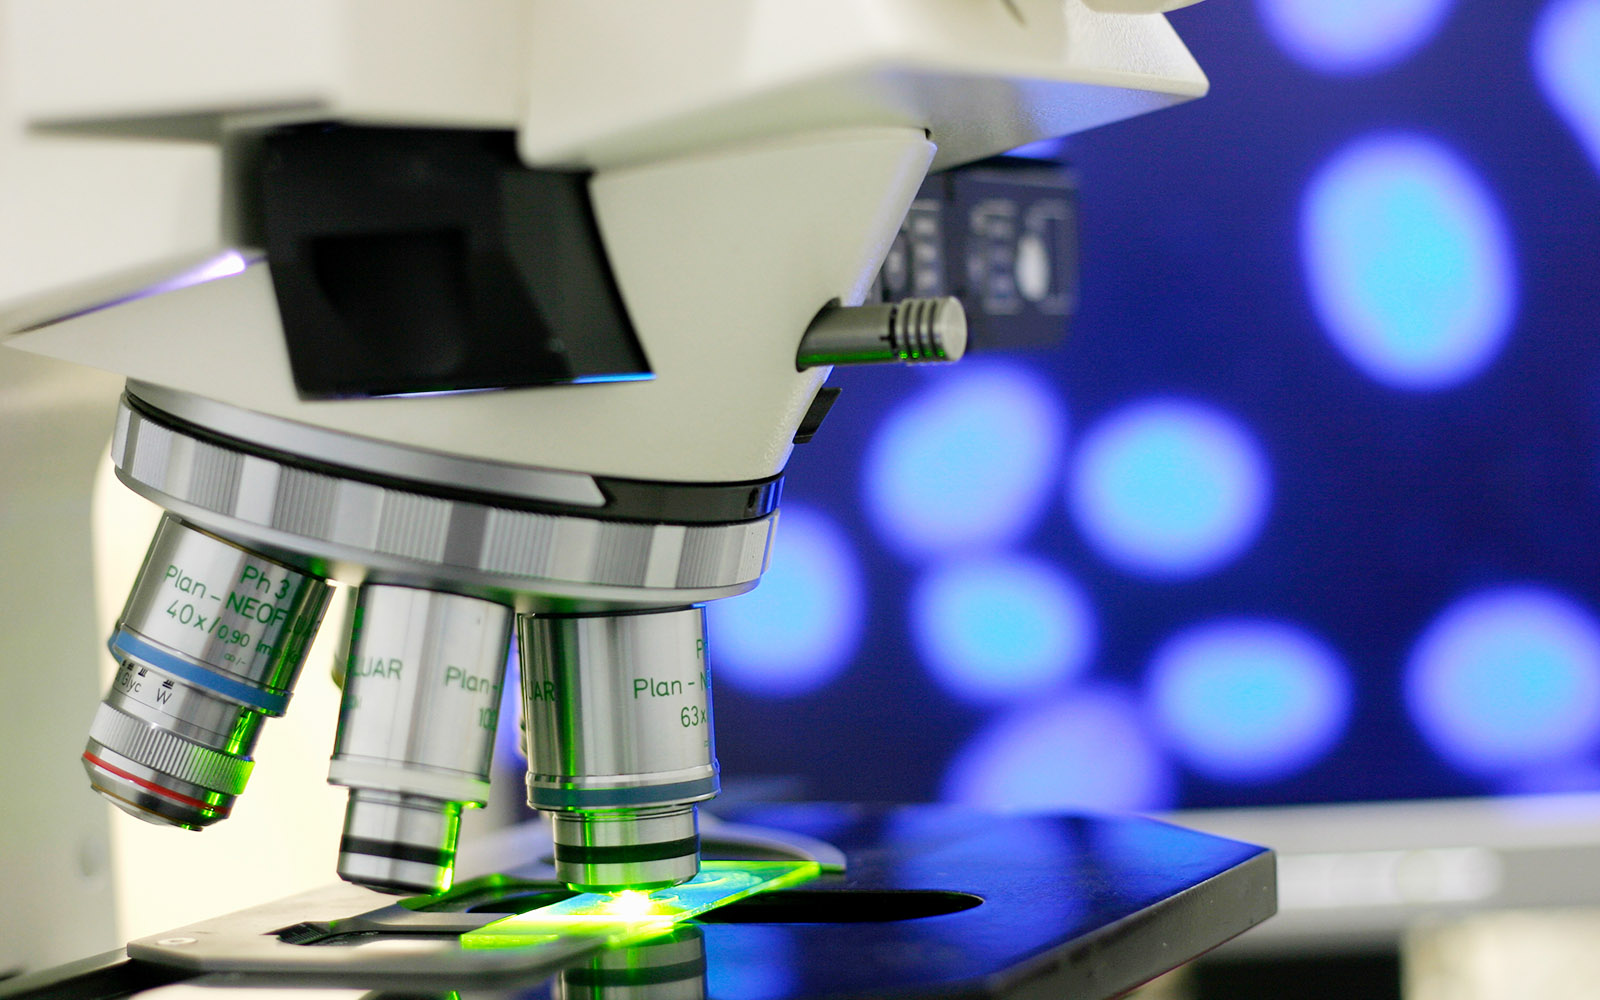
Many image analysis experts, when starting analyzing pathology images, are not familiar with tissue processing and the tissues’ journey to the glass slide and later to the whole slide image. The following resources quickly and clearly explain the steps from tissue sampling all the way until pathological diagnosis.
1. From Biopsy to Microscopy – Tissue processing for light microscopy
In this YouTube video you will learn what happens with the tissue sample taken out of the human body as a biopsy. It will show you exactly the step necessary to take the fresh tissue piece and turn it into a beautiful and informative microscopic slide.
The steps necessary for this to happen include:
- Fixation: This is the first step in tissue processing and involves treating the tissue with a fixative solution. Fixatives help to preserve the structure and cellular components of the tissue by cross-linking and stabilizing the proteins and other biomolecules. Common fixatives include formalin, ethanol, and paraformaldehyde.
- Dehydration: After fixation, the tissue is dehydrated to remove all the water from the tissue. This is done by treating the tissue with increasing concentrations of alcohol (e.g., 70%, 80%, 95%, and 100% ethanol). The tissue is then cleared using xylene or other clearing agents.
- Infiltration: The dehydrated tissue is then infiltrated with a liquid medium (usually paraffin wax) that will solidify to form a support for the tissue. The tissue is placed in a series of baths of melted wax, which gradually replace the alcohol.
- Embedding: The tissue is then placed in a mold with the wax and allowed to cool and harden. This produces a block of tissue that can be cut into thin sections for microscopic examination.
- Sectioning: The tissue block is cut into thin sections (usually 4-6 micrometers thick) using a microtome. The sections are then mounted on a glass slide and allowed to dry.
- Staining: The final step in tissue processing is staining, which helps to highlight different cellular components and structures. The type of stain used will depend on the tissue type and the specific components of interest. Common stains include hematoxylin and eosin (H&E), which stains nuclei and cytoplasm, and special stains for specific structures like elastin or collagen.
After staining, the tissue sections are covered with a coverslip and ready for examination under a microscope.
2. Introduction to Digital Pathology (including the workflow and challenges)
This 46 min lecture by Hamid Tizhoosh, PhD is a fantastic resource explaining all the steps necessary to go digital and well as the benefits and challenges of going digital in a pathology lab. He brilliantly explains how the analog microscope workflow is translated into the digital workflow. A must see for anyone starting or wanting a great crash course on digital pathology.
Hematoxylin and Eosin (H&E) staining and general tissue understanding
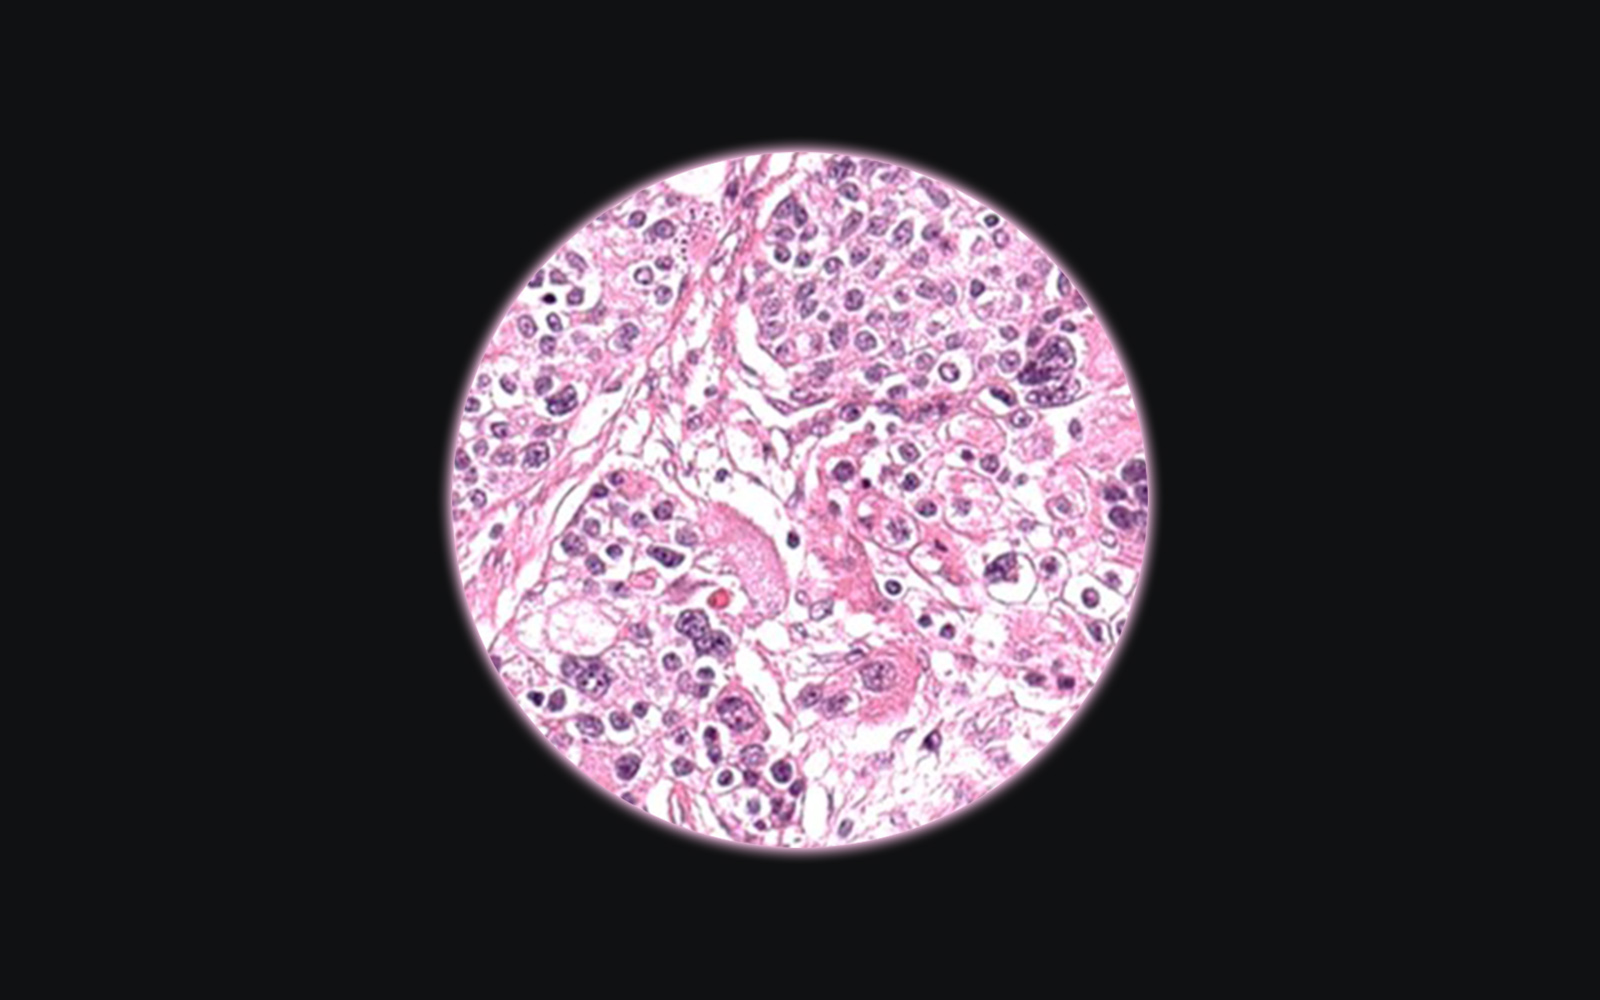
H&E is the primary stain used in histopathology. Hematoxylin stains the basophilic structures (DNA and RNA) in blue and eosin stains the eosinophilic structures (proteins) in red with varying shades of pink and purple in between. This stain enables pathologists to best recognize the morphological features of tissues and diagnose diseases. The following resources will help you understand the tissue architecture of different organs:
3. Histology YouTube channel – WashingtonDeceit by Dr. Minarcick
WashingtonDeceit
Dr. John Minarcick’ s YouTube channel with pathology lectures (also to be found in high resolution on his medical school pathology website and a brilliant shotgun histology series consisting of short videos explaining the histology of different organs and histopathological changes when they are affected by different diseases. Those 5-10 minute long videos are a great introduction to histology for image analysis professionals and anyone else who is interested.
I was using these videos to teach and re-teach histology myself. Highly, highly recommended histology resource! is
4. PathPresenter – the histopathology slide viewing and sharing platform for education
PathPresenter is a digital whole slide repository with thousands deidentified histopathology slides from real patients with all kinds of diseases. The platform requires login, but if FREE OF CHARGE and it’s my go to resource to view virtual slides.
It has an intuitive viewer with annotation option and the slide links are shareable, so anyone can access them from anywhere.
The slides include diagnostic information, and a section called “high yield cases” is prepared specifically for educational purposes and contains very detailed information about the disease entities.
Immunohistochemistry (IHC) including IHC scoring guidelines
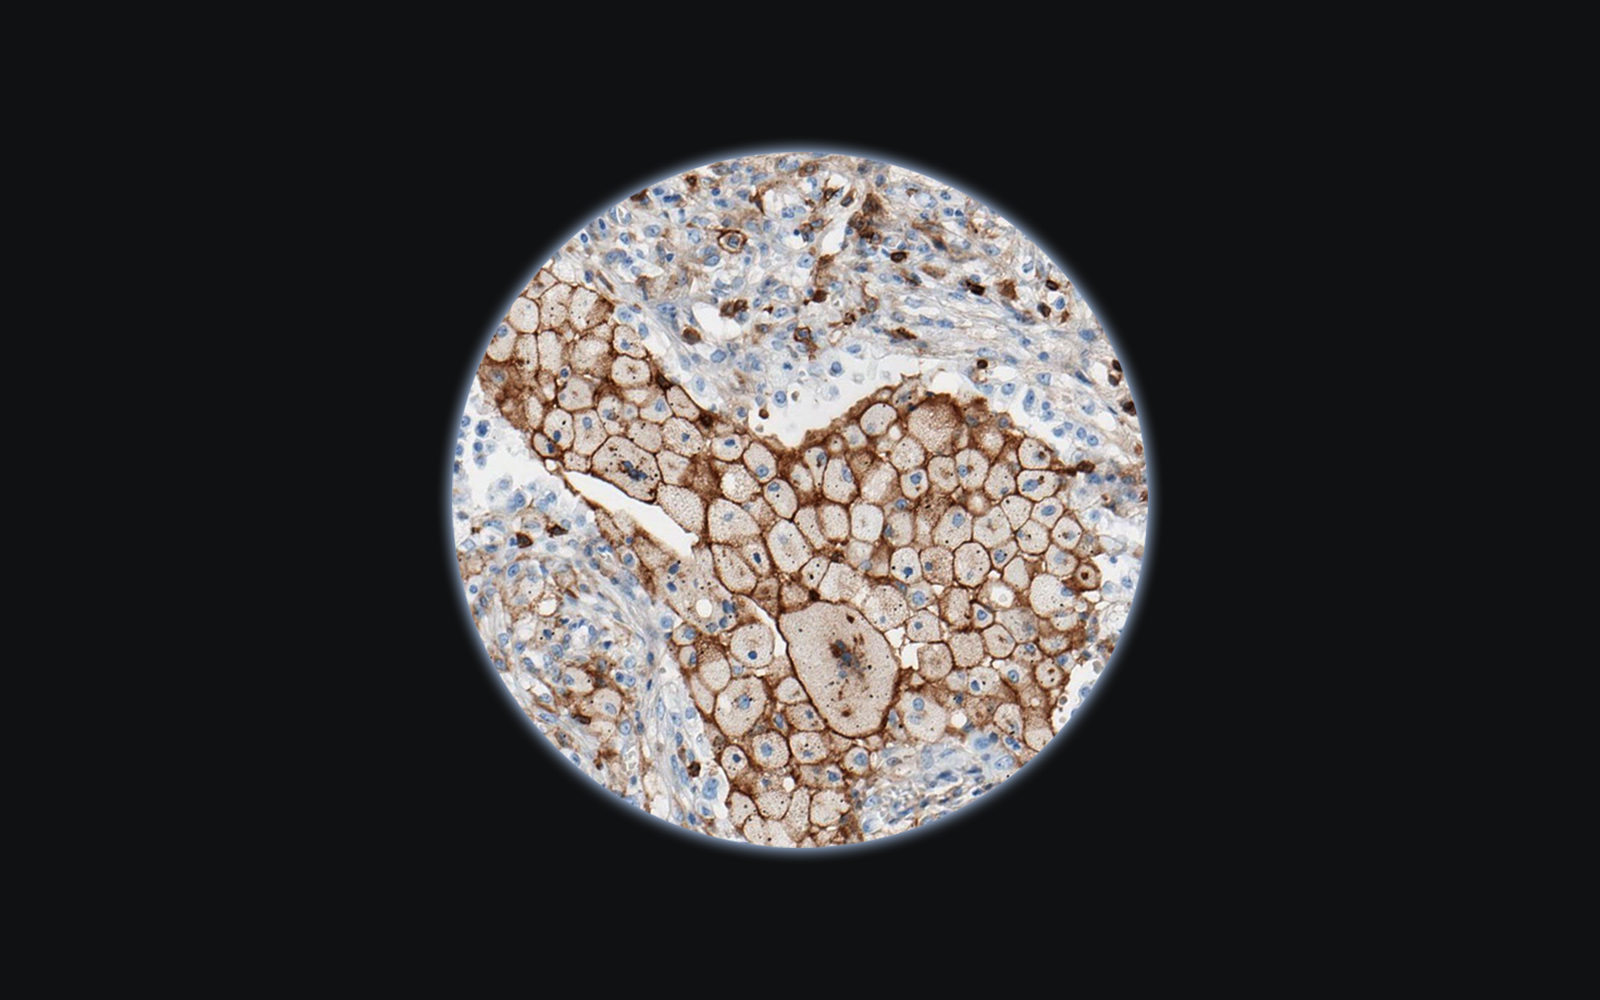
IHC is an antibody-based tissue staining method, which enables selective staining of different cell populations. It is widely used for semiquantitative pathology scorings and as the method of choice for image analysis-based cell quantification. This method consists of many steps and both the preanalytical and analytical components of the process may influence the appearance of the final image. This is why image analysts should be aware of how the method works and what to expect from the IHC – stained images. The following resources will help you get familiar with the method, the main staining patterns and the principles of IHC-based pathology scorings.
5. Animated guide to immunohistochemistry – watch to understand the basics
An animated guide to immunohistochemistry
This is a short, animated description of the IHC method provided by Leica Biosystems. It is quick to look at in order to understand the basics.
6. Immunohistochemistry lecture to understand the method better
This is a 15 min video explaining how immunohistochemistry works. Suman Bhattacharjee on his YouTube biology channel explains topics from molecular biology, biotechnology, forensic science, life science, synthetic biology, translational biology and so on. The lectures usually last between 15 and 30 minutes and explain the topics in a detailed, but very straightforward and understandable way. On Shomu’s biology, you will find information not only about IHC but about nearly any biological or biotechnological method used in current research.
7. PathologyOutlines CD Markers – the only site you will ever need to know if your IHC stain looks like it should
Different immune and other cell populations are characterized by cluster of differentiation (CD) markers on their surface. In order to visualize them, IHC can be applied with a particular CD antibody. On this site, you will find the description, explanation of action mechanisms as well as pictures with staining examples and links to additional resources. The site is easily searchable and is an invaluable resource when learning about tissue biomarkers. In addition to the CD marker information Pathology outlines provides all kinds of relevant pathology information.
8. Dako/Agilent Stain Atlas
A 120- page pdf atlas showing pictures with staining characteristics of over 100 antibodies. It specifies the use of the antibody, the cellular location of the stain and the recommended controls for performing the staining. On the example pictures, you can see the optimal signal to background ratio.
9. Pathology IHC Scoring Guidelines
Recently more and more attempts are being made to automate and quantify the semiquantitative pathology scores. Several image analysis algorithms for IHC scoring have been cleared by the FDA. To understand how the current visual pathology scores are designed, it is best to get familiar with the official scoring or interpretation guidelines for the particular biomarker and disease entity. It is important to remember that these are antibody, drug, and disease-specific and are not interchangeable, and should not be confused (eg. the PDL1 scoring principles for non-small cell lung cancer are different from the PDL1 scoring principles for bladder cancer and both scoring principles further depend on which antibody is used). There are a number of scoring guidelines/ interpretation manuals available for different biomarkers on the test manufacturers and other web pages:
The most commonly used biomarkers include:
Programmed Death Ligand 1 (PDL1)
Human Epidermal Growth Factor Receptor 2 (HER2)
Below are the links to scoring guidelines/ interpretation manuals of the above-mentioned biomarkers:
PDL1:
- VENTANA PD-L1 (SP263) Assay Staining of Non-Small Cell Lung Cancer Interpretation Guide
- VENTANA PD-L1 (SP142) Assay Interpretation Guide for Urothelial Carcinoma
- VENTANA PD-L1 (SP263) Assay Staining in Urothelial Carcinoma Interpretation Guide
- ROCHE VENTANA PD-L1 INTERPRETATION COURSES – E-LEARNING TOOLS
- PD-L1 IHC 22C3 pharmDx Interpretation Manual for Non-Small Cell Lung Cancer
- PD-L1 IHC 22C3 pharmDx Interpretation Manual – Cervical Cancer
- PD-L1 IHC 22C3 pharmDx Interpretation Manual – Urothelial Carcinoma
- The Dako PD-L1 IHC 22C3 pharmDx Interpretation Training Program
- PD-L1 IHC 28-8 pharmDx for non-squamous Non-Small Cell Lung Cancer Interpretation Manual
HER2
- Interpretation Guide for VENTANA anti-HER2/neu (4B5)
- HercepTestTM Interpretation Manual Breast Cancer by Dako
ER/ PR
- ER/PR pharmDx Interpretation Manual
- ASCO/CAP Guideline Recommendations for IHC Testing of ER and PgR in Breast Cancer
Ki67
- Assessment of Ki67 in Breast Cancer: Recommendations from the International Ki67 in Breast Cancer Working Group – important information – Ki67 positivity is not dependant on the intensity of staining. Any intensity of nuclear staining with this marker allows classifying the cell as positive.
Tumor Microenvironment
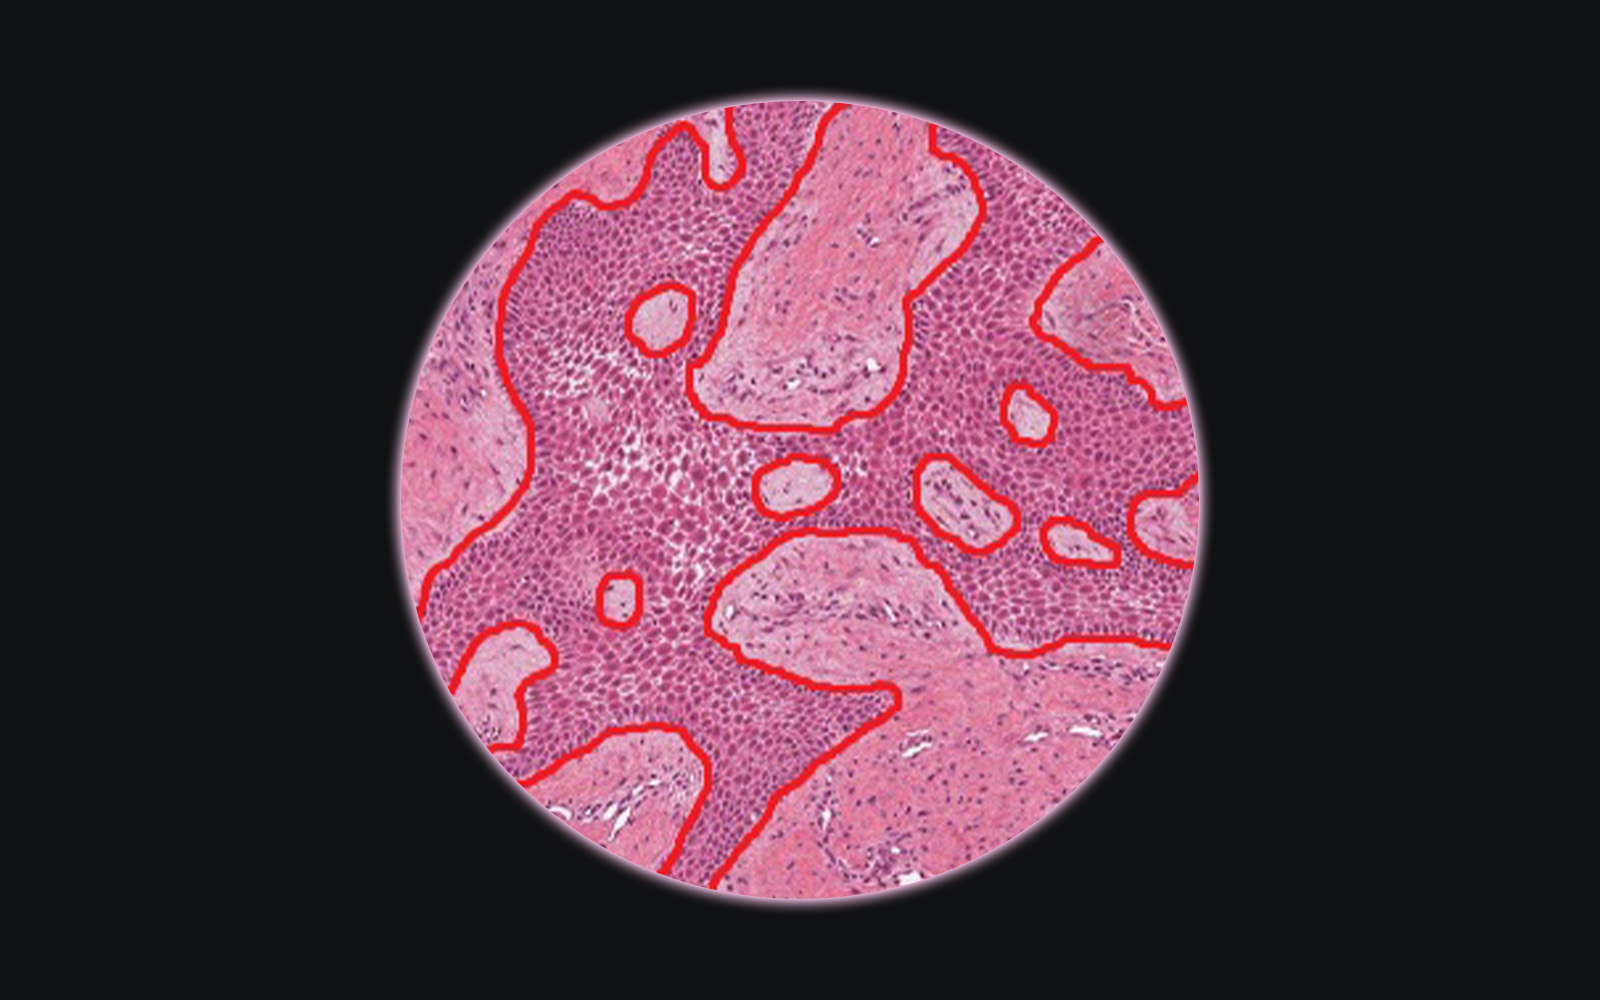
Tumors consist of more than just the malignant neoplastic cells. The non-neoplastic components of the tumor are referred to as tumor microenvironment. As they are as important of a target for image analysis as the neoplastic cells themselves, it is important to know what tumor microenvironment means, what it consists of and how it’s elements look like in the tissue.
10. Immuno-oncology 101 – Podcast episode with an expert
In this podcast episode you will learn the basics of immuno-oncology tumor microenvironment explained by Prof. Dr. Elfriede Noessner.
11. Tumor microenvironment – coursera lecture
Tumor microenvironment explained in a video lecture from a Coursera course “Understanding cancer metastasis”
The full course can be found here. The Coursera platform provides many free online courses on cancer hosted by prestigious American universities (eg. Introduction to the biology of cancer, Understanding cancer metastasis, Introduction to breast cancer) which I highly recommend if you want to gain more in-depth knowledge on the subject.
Summary
The above-mentioned 10+ best pathology resources for image analysis professionals will bring you up to speed when starting to work on digital pathology problems and will allow you to communicate better with the pathologist collaborating on the projects. Those resources cover the areas most important for understanding pathology projects such as:
- Pathology workflow
- Hematoxylin and eosin staining and general tissue understanding
- Immunohistochemistry (IHC) including IHC scoring guidelines
- and Tumor Microenvironment
Do you use other valuable resources for guiding your image analysis work? Let’s connect on LinkedIn and talk about them!





Comments are closed.